
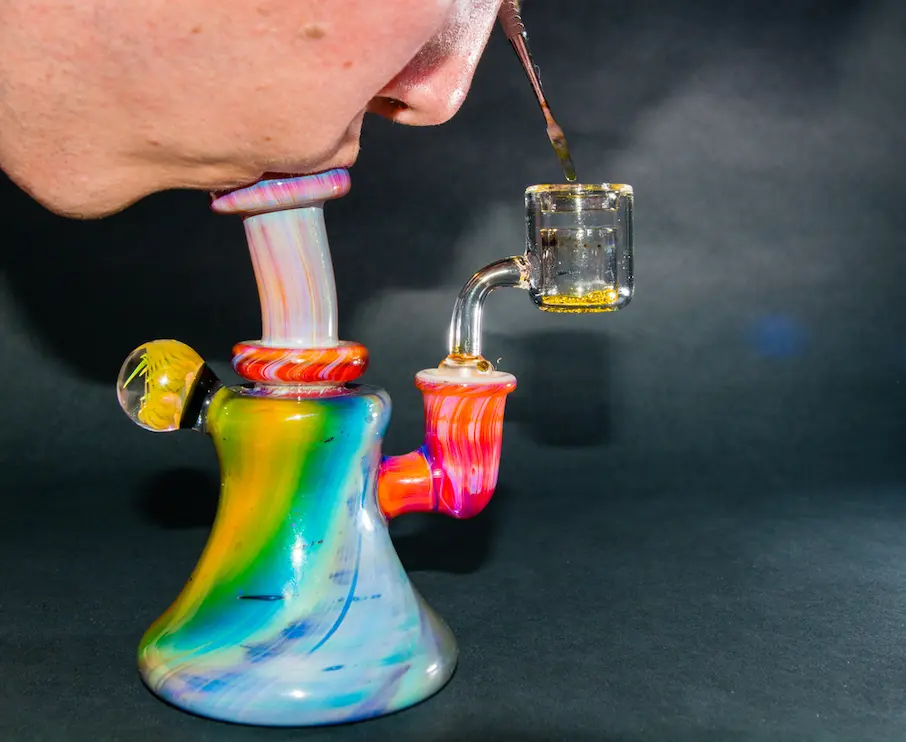
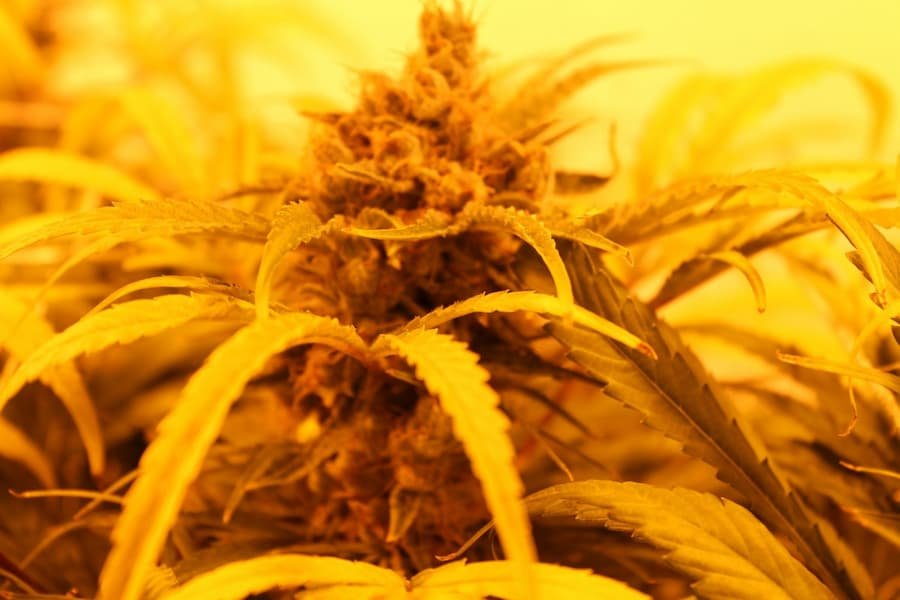
Making your pipe is a great way to buy one from a store. Not only does it help you save money, but you can also customize your pipe to make it exactly how you want it. In this blog post, you will get to know eight different ways to make a DIY pipe and the benefits of each type. Read on to get some valuable instructions on how to make a pipe.
Table of Contents
The Benefits of Making Your Pipe
There are many benefits to making your pipe/bong instead of buying one from a store. Perhaps the most apparent benefit is that it saves you money. Store-bought pipes can be expensive, and if you’re a frequent smoker, the costs can add up quickly. In addition to saving money, making your pipe allows you to customize it to your specific preferences.
For example, if you prefer a small pipe that is easy to carry with you on the go, you can make one that fits those criteria. Or, if you prefer a pipe with multiple chambers and percolators, you can make one of those. The possibilities are endless when you want to make your own bong.
How to Make a DIY Pipe
Now that you know the benefits of making your pipe, it’s time to learn how to do it.
Method One: The Apple Pipe
You’ve probably heard of the classic apple pipe, and there’s a good reason why it’s so popular. It is pretty easy to make, but it also hits surprisingly well. All you need to make this pipe is an apple and a sharp knife.
Start by carving out a bowl shape in the apple, but be careful and ensure you do not puncture the other side. Next, use your knife to carve out a small tunnel leading from the bowl to the apple’s stem. Once you have done that, all you have to do is put your weed in the bowl and smoke it like you would any other pipe.
Method Two: The Gravity Bong
Gravity bongs are simple devices that use the power of gravity to force smoke into your lungs. They can be made with various materials, but the most common is a plastic bottle. To make a gravity bong, you’ll need a plastic bottle, a bowl or bong, and a water source.
Start by making a small hole in the bottom of the plastic bottle. This will be your bowl. Then, fill the bottle with water, while leaving enough room at the top for the smoke to expand. Next, place the bowl on top of the bottle and light it. As the water starts to boil, the smoke will be forced into the bottle. Once the bottle is full of smoke, remove the bowl and inhale deeply.
Method Three: The Water Bottle Bong
If you don’t have a plastic bottle or prefer not to use one, you can also make a bong out of your regular water bottle. This method is similar to the gravity bong, but it doesn’t require unique materials or tools.
Take a water bottle and remove the cap. Cut a hole in the bottom of the bottle, just big enough to fit your pipe bowl. Place the bowl in the hole and screw it in place. Make sure it’s tight so that no air can escape. Fill the bottle with water, leaving about an inch of space at the top.
Put your mouth over the top of the bottle and light the bowl. The water will be sucked up into the bottle and fill it with smoke as you inhale. Take your mouth off the bottle and inhale the smoke. You can now screw the cap back on and save the bong for later use.
Method Four: The Tin Foil Pipe
This is the most basic type of pipe you can make, and it only requires a piece of tin foil and a pencil. Start by rolling the tin foil into a tube shape. Wrap it around the pencil to structure it, then carefully remove the pencil. Make sure the tin foil is tight around the outside so that no smoke can escape.
Once you have your tube, make a small bowl shape at one end. Poke a few tiny holes in the bottom of the bowl to allow airflow. You can now pack your weed into the bowl and smoke it like any other pipe. When you’re done, throw away the tin foil.
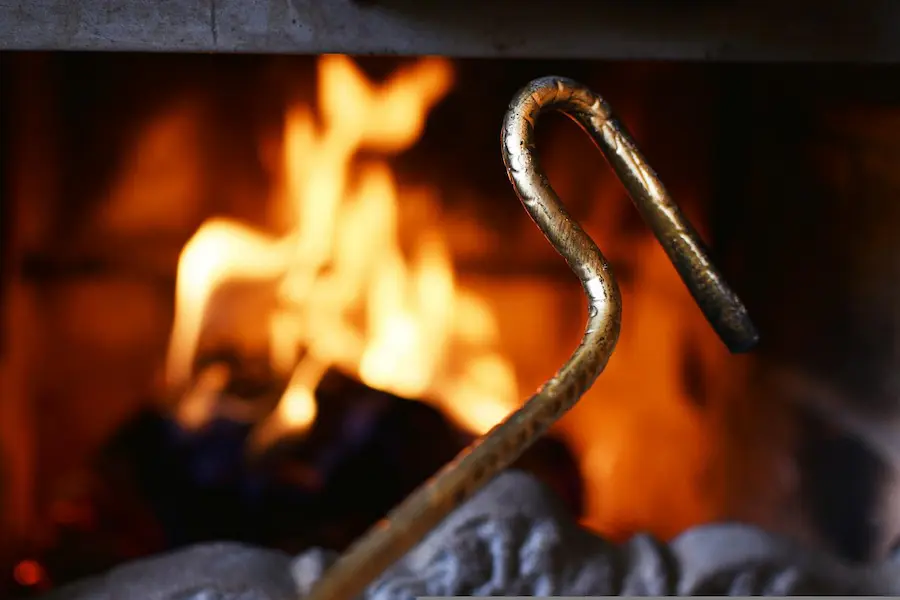
Method Five: The Hot Knife Pipe
This is one of the most popular ways to make a homemade pipe. You will need a sharp knife, an object to heat the knife (such as a stove or lighter), and something to catch the molten plastic (such as an aluminum can).
- Begin by heating your knife on the stove or with a lighter.
- Cut a small hole in the bottom of the aluminum can.
- Hold the can upside down and insert the hot knife into the hole.
- Slowly rotate the can as you pull the knife out, making sure to heat up the plastic evenly.
- Once the plastic is melted, quickly form it into the shape of a pipe.
- Let the pipe cool before using.
Method Six: The Soda Can Pipe
Start by taking any sharp object and puncturing a hole in the side of the soda can. Ensure that the hole is large enough to fit your dry herb of choice but not so big that the herb will fall right through. Once you have made your initial hole, use the sharp object to enlarge it and make a bowl shape. Be careful not to puncture the bottom of the can.
Next, take your pen and poke a small hole in the top of the can. This will serve as your carb. Once you have made your hole, use the pen to enlarge it slightly.
Now that you have made all of the necessary holes, it’s time to start smoking. Place your dry herb in the bowl and light it up. Put your mouth on the top of the can and cover the carb with your finger. Inhale and enjoy!
So, here’s how to make a pipe. Try them and see which one works best for you.
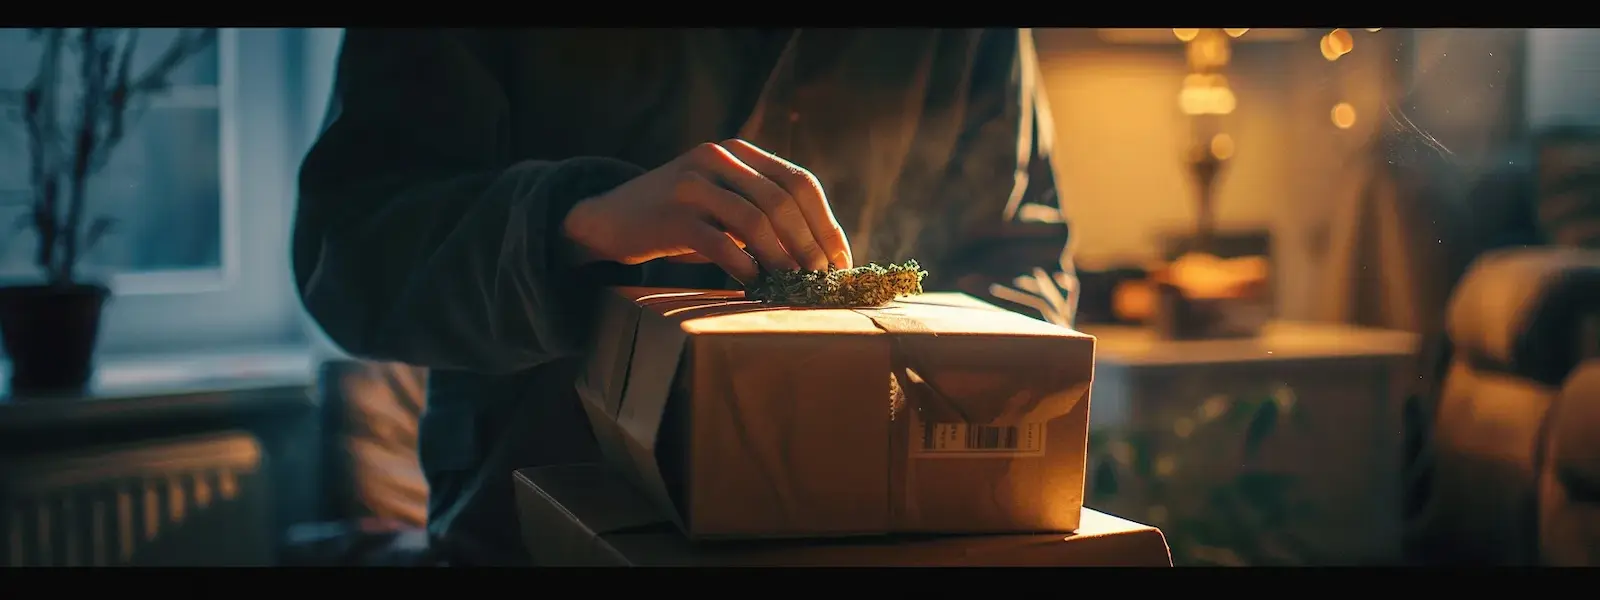
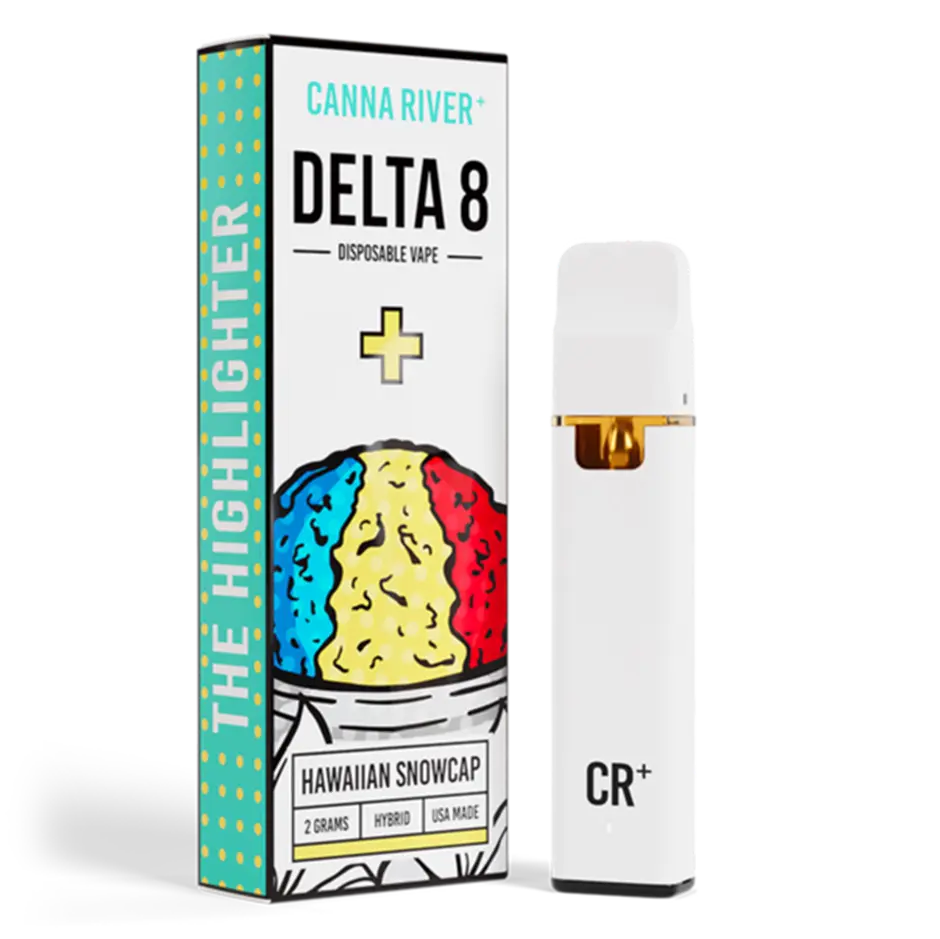
If you find these too complicated, you can always buy bongs from an online head shop. They have a lot of options, varying in size, color, shape, and even material.


0