
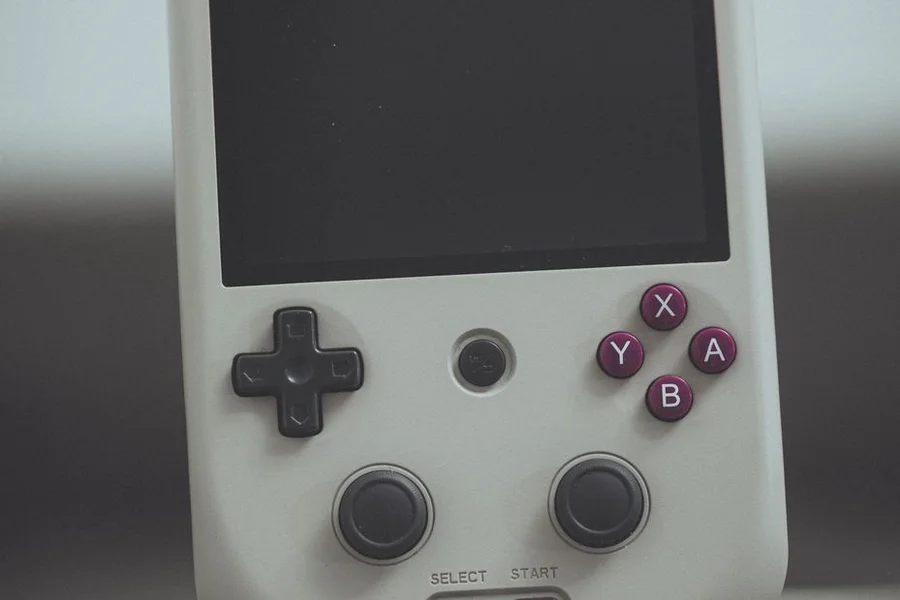
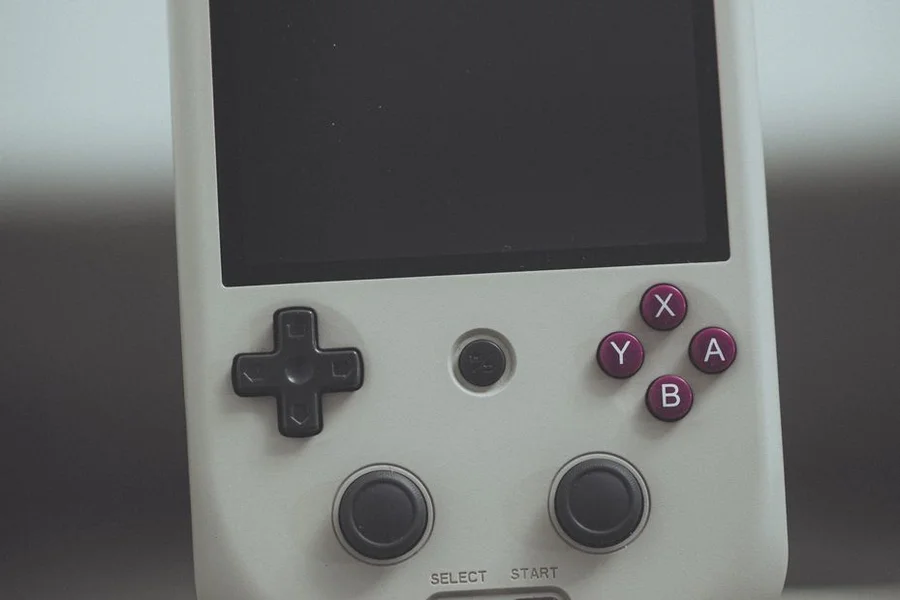
The Nintendo Game Boy Advance SP remains one of the most beloved retro handheld consoles ever created. Thanks to a passionate retro gaming community, gameboy advance sp mods have transformed this classic clamshell device into a modern portable powerhouse. By installing crisp backlit displays, universal charging ports, and premium custom housings, you can enjoy your retro library with contemporary convenience.
Table of Contents
Why Mod the Game Boy Advance SP?
The Game Boy Advance SP was revolutionary when Nintendo launched it in 2003, introducing a folding clamshell design and a front-lit screen. However, the original AGS-001 model suffered from washed-out colors and weak front lighting that pales in comparison to modern phone screens. From what we’ve seen across the retro modding community, hardware modifications breathe new life into aging consoles that would otherwise collect dust.
Modding allows players to fix the console’s historical shortcomings while preserving original motherboard hardware. Modern drop-in kits have made the customization process more accessible than ever, requiring minimal technical experience. According to hardware history archives on the Nintendo official portal, the SP sold tens of millions of units worldwide, creating a massive supply of consoles ready for modern restoration.
IPS and Laminated Screen Mods
The most impactful modification you can make to your console is an IPS screen upgrade. Modern display kits from manufacturers like FunnyPlaying replace the dim stock screen with a vibrant, high-resolution LCD panel. These displays feature rich color saturation, wide viewing angles, and adjustable brightness levels controlled through touch sensors or button combinations.
Laminated IPS kits are the current gold standard because the protective glass lens is fused directly to the LCD panel. This eliminates annoying air gaps and prevents dust particles from getting trapped beneath the screen during assembly. In practice, playing classic Game Boy games on a modern backlit panel completely transforms the visual experience, revealing sprite details you likely missed on original hardware.
USB-C and Battery Upgrades
Original SP consoles used a proprietary charging port, requiring gamers to carry specialized charging cables. Replacing this outdated connector with a modern USB-C charging port allows you to charge your handheld using standard phone cables and power banks. Clean drop-in daughterboards now fit cleanly into the original charging port cutout on the motherboard.
Because modern backlit IPS screens consume more power than stock displays, pairing your screen upgrade with a high-capacity battery mod is essential. Upgrading from the aging 600mAh stock battery to a 900mAh or 950mAh modern lithium-polymer pack ensures five to eight hours of continuous playtime. Taking care of small electronics and performing simple upgrades at home is a great way to save money, similar to the practical advice in our guide on DIY electronics maintenance and avoiding costly device repairs.
Custom Shells, Buttons, and Aesthetics
Replacing a scratched, brittle plastic housing with a fresh custom shell lets you personalize the exact look of your handheld. Aftermarket shells come in transparent neon colors, matte finishes, UV-printed character artwork, and even CNC-machined anodized aluminum. Upgrading your buttons with aluminum or brass alternatives gives the console a satisfying, tactile weight.
Building a custom handheld console creates a unique, durable gadget that fits perfectly into your pocket gear collection. If you enjoy precision-crafted metal gear and everyday essentials, you will appreciate our look at everyday carry gear, durable metal accessories, and custom build reviews. Swapping out worn silicone button pads during the reshell process restores that crisp, responsive click to the directional pad and face buttons.
Audio Mods and Headphone Jack Installation
A notable design flaw of the original console was the omission of a standard 3.5mm headphone jack, forcing users to use awkward dongles. Advanced modders can now solder a dedicated headphone jack into the bottom housing or install a USB-C port that supports analog audio output. This allows you to plug standard wired headphones directly into the console without adapters.
To fix aging, quiet speakers, you can also install a mini audio amplifier board and an upgraded ceramic speaker. These amplifier circuits boost volume output by up to three times while filtering out electrical buzz and background hum. The result is crystal-clear chiptune music and punchy sound effects that make classic adventures even more immersive.
Essential Tools and Beginner Modding Tips
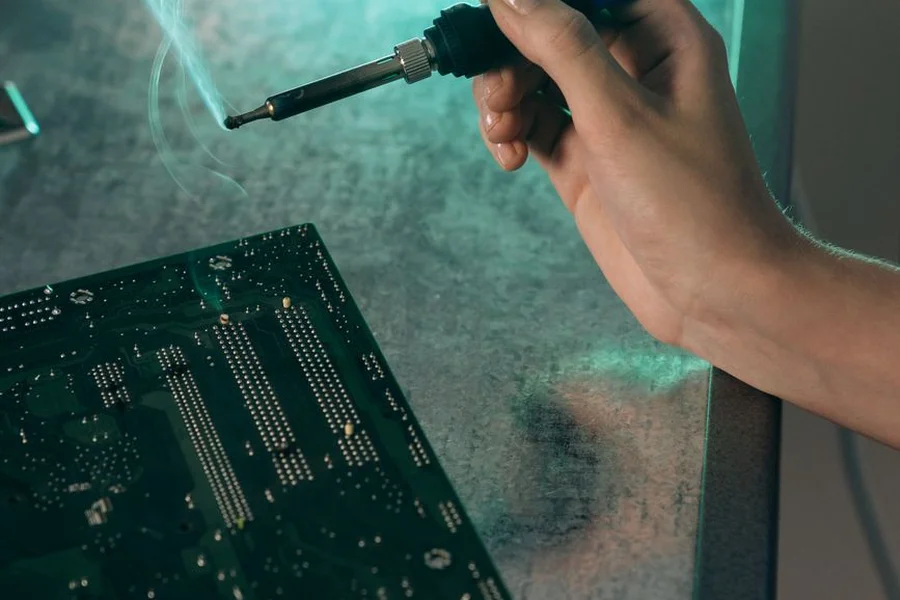
Before opening your console, gather the proper tools to avoid stripping screws or damaging delicate ribbon cables. You will need a Tri-wing screwdriver, a small Phillips screwdriver, precision tweezers, and a temperature-controlled soldering iron for wiring optional brightness controls. Working on a clean silicone mat prevents small screws from bouncing away.
A common myth is that you must be an electrical engineer to successfully mod a retro console. The reality is that many modern IPS screens and shell replacement kits are completely solder-free drop-in designs. However, one common pitfall we see beginners make is overtightening case screws, which can crack plastic screw posts or pinch the delicate screen ribbon cable. Taking your time, keeping screws organized, and testing the system before closing the housing ensures a flawless custom build.
Frequently Asked Questions
What is the difference between an AGS-001 and AGS-101 Game Boy Advance SP?
The AGS-001 is the original 2003 model featuring a front-lit display with a reflective screen. The AGS-101 is a later revision released in 2005 that featured a much brighter, true backlit screen. Both models can be upgraded with modern IPS displays.
Do I need to solder to install an IPS screen on a Game Boy Advance SP?
Most modern IPS kits function fully without soldering, providing standard brightness out of the box. Soldering a single thin wire to the motherboard is only necessary if you want to control the on-screen brightness menu using the console’s brightness button.
How long does the battery last with an IPS screen mod?
An original stock battery will last roughly two to three hours with an IPS screen. Upgrading to a modern 900mAh or 950mAh lithium-polymer battery pack increases playtime to around five to eight hours depending on your brightness setting.
Can I charge a modded USB-C Game Boy with any phone charger?
If your USB-C mod includes proper 5.1k pull-down resistors, it will support standard USB-C to USB-C chargers and power banks. Older or cheaper mod boards only support USB-A to USB-C charging cables.
Does modding damage original Game Boy games?
No, hardware mods like screen, shell, and battery upgrades only affect the console’s physical shell and display. Game cartridges function exactly as intended without any risk of save file corruption or electrical damage.
Where can I buy reliable Game Boy Advance SP modding parts?
Reputable retro modding suppliers include FunnyPlaying, Retro Game Repair Shop, Hand Held Legend, and Boxy Pixel. These retailers provide high-quality laminated screens, custom shells, and custom hardware kits.

Written by Rosella
Rosella is a self-taught digital creator with a passion for breaking down tech, lifestyle, and everyday topics into simple, easy-to-understand content. Based in Youngstown, Ohio, she brings a curious, multi-disciplinary approach to writing, covering everything from the latest tech trends to practical life hacks and personal growth insights.
Her goal is straightforward: take complicated ideas and explain them in a way that actually makes sense, so every reader, whether a total beginner or someone more experienced, walks away having learned something useful. When she’s not writing, you’ll usually find her exploring new tools, sharpening her skills, or spending time with family.
Through this blog, Rosella aims to build a community centered on real, actionable insights rather than fluff, jargon, or filler content.

0